As summer temperatures climb, the thought of a cool, comfortable home becomes a top priority for many. While purchasing a new air conditioning unit is a significant first step, the installation process is arguably more critical to its performance, efficiency, and lifespan. A proper AC installation isn’t just about plugging in a unit; it’s a precise science that ensures your investment pays off for years to come.
Why Professional Installation is Non-Negotiable
Attempting a DIY installation or hiring an uncertified technician can lead to a cascade of problems. A poorly installed air conditioner can suffer from:
- Reduced Efficiency and Higher Bills: Improper sizing or sealing can cause the system to work 20-40% harder, dramatically increasing energy consumption.
- Frequent Breakdowns: Incorrect refrigerant charge, poor airflow, and faulty electrical connections put undue stress on components, leading to premature failure.
- Comfort Issues: An improperly sized unit will struggle to dehumidify and cool your space evenly, creating hot and cold spots.
- Voided Warranty: Most manufacturers require professional installation by a licensed technician to keep the warranty valid.
- Safety Hazards: Incorrect handling of refrigerants or electrical wiring poses serious risks to your home and family.
The Step-by-Step Professional Installation Process
A reputable HVAC contractor follows a meticulous process to ensure peak performance.
1. Pre-Installation Assessment and Load Calculation
The most crucial step happens before any equipment arrives. A technician will perform a Manual J Load Calculation. This isn’t a guess based on square footage; it’s a detailed analysis considering your home’s insulation, window size and orientation, ceiling height, local climate, and even internal heat loads from appliances. This determines the exact cooling capacity (in BTUs) needed—installing a unit that’s too large or too small is a primary cause of inefficiency.
2. Selecting the Right Equipment
Based on the load calculation, your contractor will recommend a correctly sized unit. They will also discuss the Seasonal Energy Efficiency Ratio (SEER) rating. Higher SEER ratings indicate greater efficiency and lower operating costs, though the upfront cost is higher. You’ll also choose the type (e.g., central split system, ductless mini-split) that fits your home’s layout.
3. The Installation Day: Precision in Action
- Preparation & Removal: The team will safely remove the old equipment, if present, and prepare the work areas.
- Setting the Foundation: For the outdoor condenser, a stable, level pad (often concrete or composite) is placed to minimize vibration and ensure proper drainage.
- Installing Indoor Unit: For central systems, the evaporator coil is precisely fitted to the furnace or air handler. Refrigerant lines are carefully measured, cut, and brazed with nitrogen to prevent contamination—a key step for longevity.
- Electrical Connections: A dedicated electrical circuit is connected by a qualified professional, ensuring safety and compliance with local codes.
- The Vacuum Test: The system is evacuated of air and moisture using a deep vacuum pump. This is essential for system purity and efficiency. Skipping this step is a major red flag.
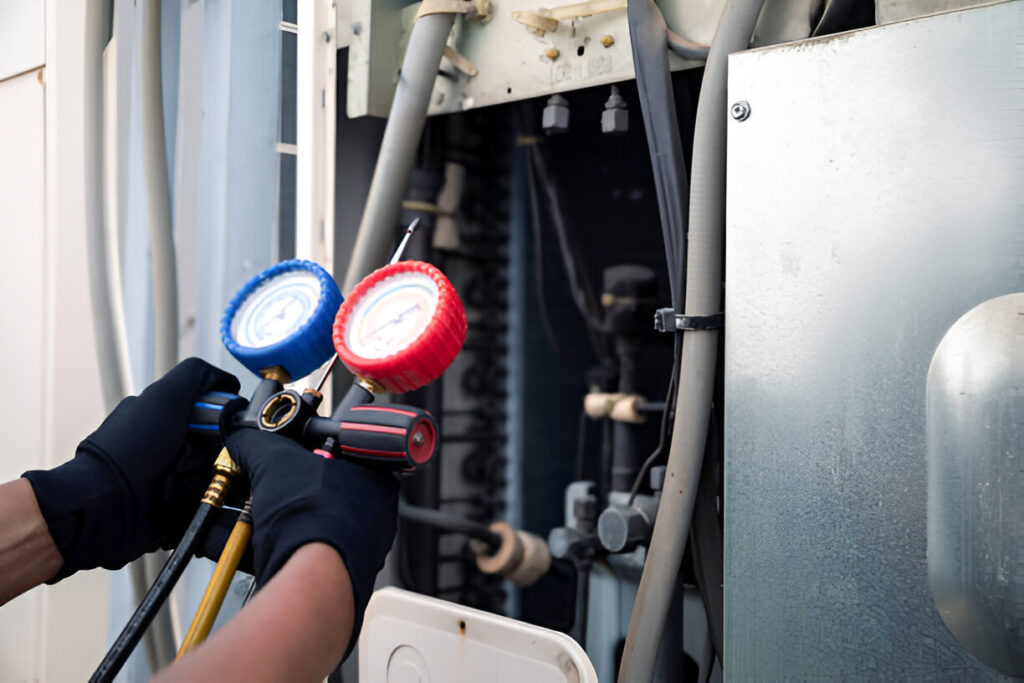
- Refrigerant Charge: The system is charged with the exact amount of refrigerant specified by the manufacturer, measured by weight or subcooling/superheat calculations, not guesswork.
- Ductwork Inspection & Sealing: Existing ducts are inspected for leaks, which can waste up to 30% of cooled air. They are sealed and insulated, particularly in unconditioned spaces like attics.
- Start-Up, Testing, and Balancing: The system is started, and the technician tests all functions, measures temperature drop across the coil, checks airflow at all vents, and verifies the thermostat communication.
4. The Final Walkthrough
A good installer will walk you through the system, explain basic operation and maintenance (like filter changes), and provide all warranty documentation.
Key Questions to Ask Your Installer
- “Will you perform a Manual J Load Calculation?”
- “Are you licensed, insured, and NATE-certified?”
- “Can you provide references from similar jobs?”
- “What is included in the installation quote?” (Ensure it covers permits, disposal of old equipment, etc.)
- “Do you offer a labor warranty on your work?”
Investing in Long-Term Comfort
A professional AC installation is an investment in reliability, efficiency, and peace of mind. While it may represent a significant portion of your project cost, it ensures your system runs quietly, keeps your energy bills in check, and provides consistent comfort through the hottest days. Don’t let a poor installation melt away your savings—choose a qualified professional and enjoy the cool confidence of a job done right.